Why Build Instead of Buy
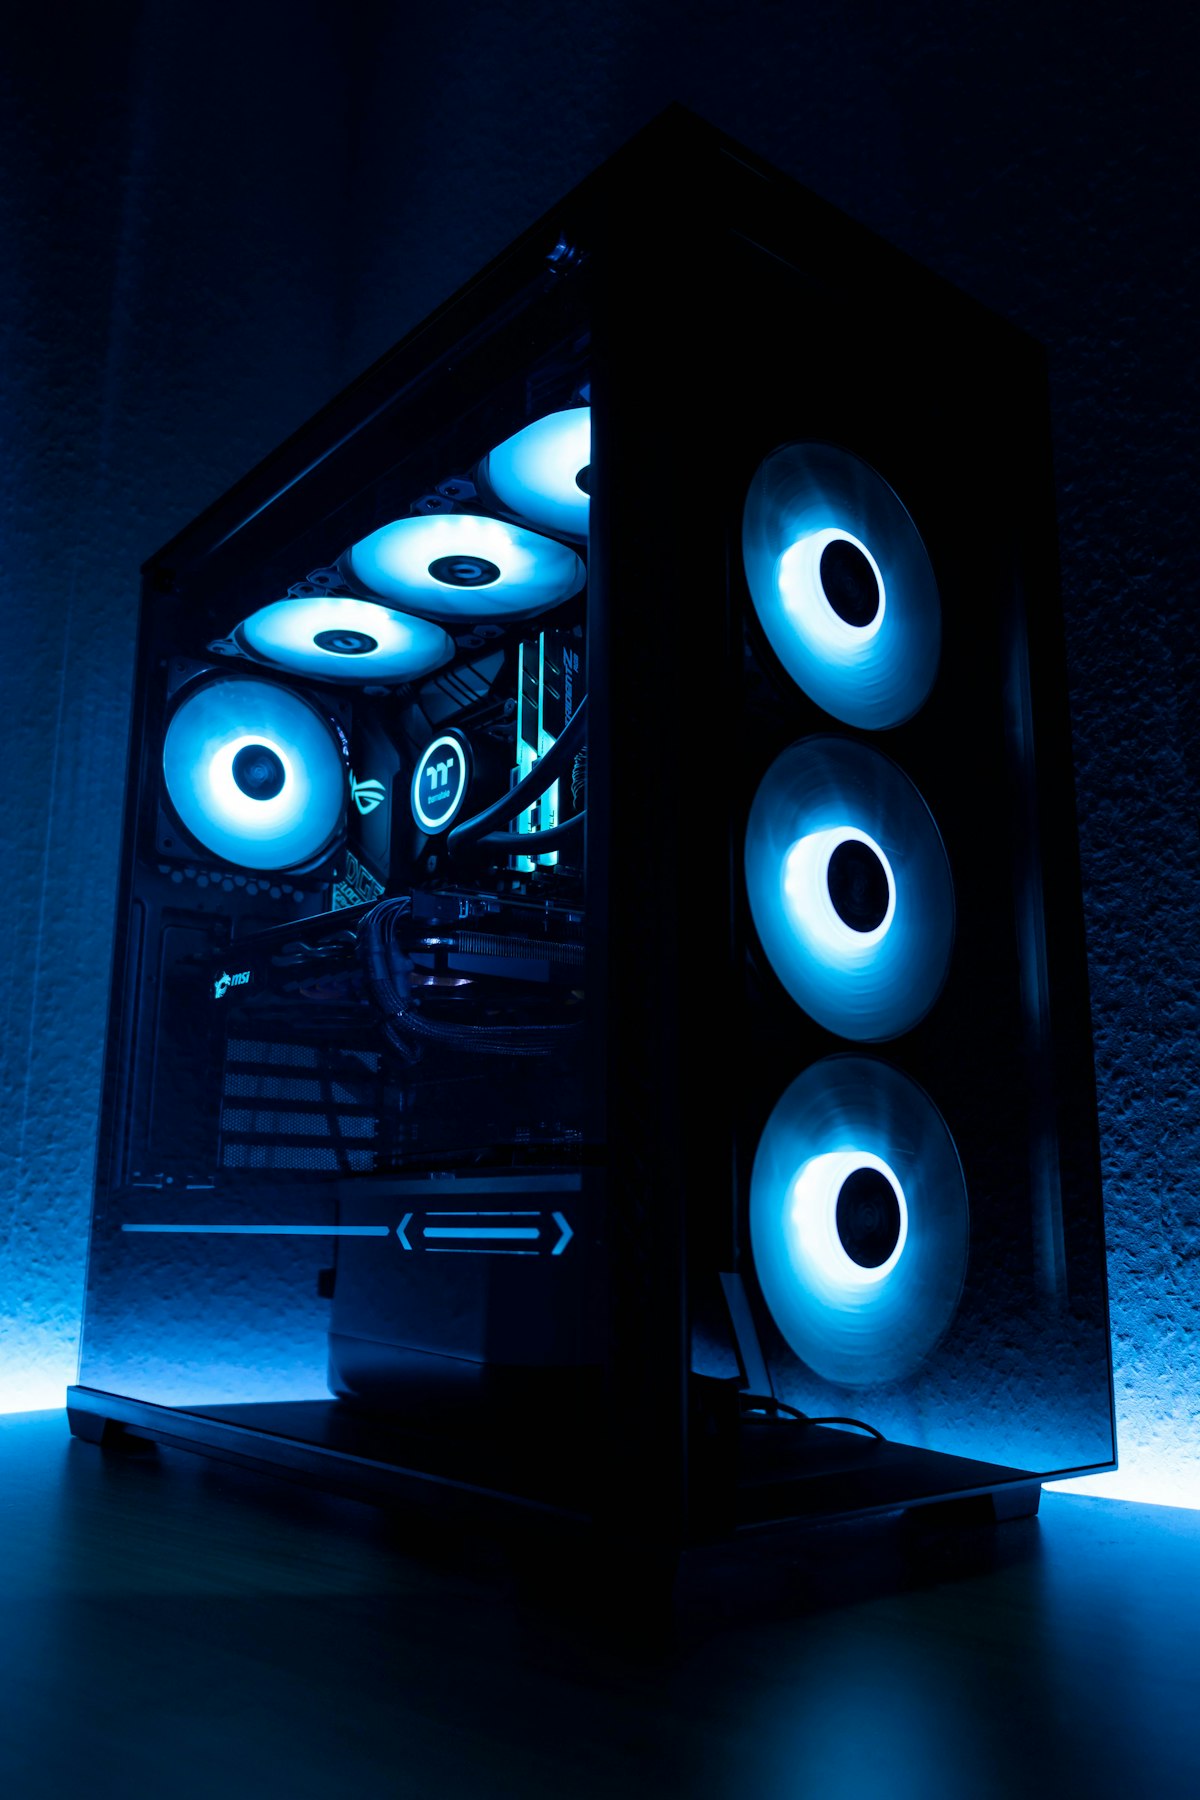
Pre-built gaming PCs charge a premium for assembly, often cut corners on components you can’t see (power supplies, motherboards, cooling), and limit your upgrade options down the road. Building your own gives you full control over every part, better performance per dollar, a machine you understand well enough to maintain and upgrade yourself, and — honestly — one of the most satisfying tech projects you can take on. If you can follow instructions and handle a screwdriver, you can build a gaming PC. The parts literally only fit together one way.
Choosing Your CPU and GPU
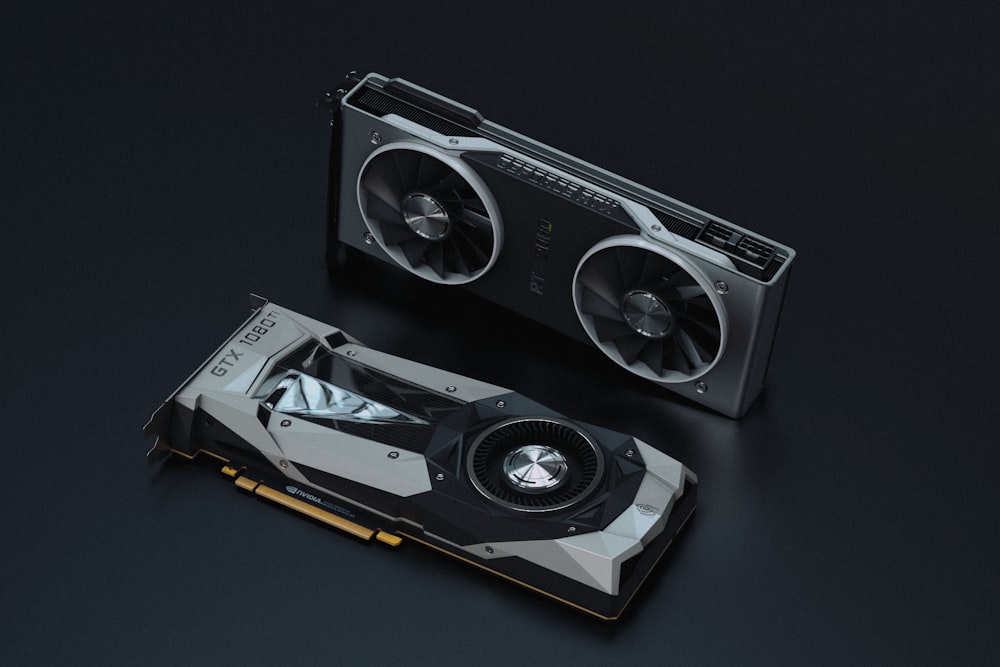
The graphics card (GPU) is the single most important component for gaming performance. It determines what resolution and frame rates you can hit in the games you play. For 1080p gaming at high settings, a mid-range card like an NVIDIA RTX 4060 or AMD RX 7600 handles everything comfortably. For 1440p, step up to an RTX 4070 or RX 7800 XT. For the CPU, gaming workloads don’t benefit much from more than six to eight cores — an AMD Ryzen 5 7600 or Intel Core i5-14400F pairs well with mid-range GPUs without creating a bottleneck. Spending $300 on a 16-core processor for a $250 GPU is like putting racing tires on a minivan.
RAM, Storage, and Motherboard
For gaming in 2026, 16GB of DDR5 RAM is the sweet spot — 32GB gives you headroom for multitasking and future-proofing but isn’t strictly necessary for most games today. Choose a speed of DDR5-5600 or DDR5-6000 for AMD systems, as Ryzen processors benefit noticeably from faster memory. For storage, an NVMe SSD is non-negotiable as your boot and game drive — a 1TB drive gives enough room for your OS and a solid game library. Our SSD vs HDD comparison covers the technical details if you want to add a secondary storage drive for bulk files.
The motherboard should match your CPU’s socket and chipset, support your chosen RAM type, and have the connectivity you need (M.2 slots, USB ports, Wi-Fi if you’re not using Ethernet). Don’t overspend here — a mid-range B650 (AMD) or B760 (Intel) board handles gaming builds perfectly.
Power Supply: Don’t Cheap Out
The power supply (PSU) is the one component where cutting costs can damage everything else. Choose a unit from a reputable manufacturer (Corsair, Seasonic, EVGA, be quiet!) with an 80+ Bronze efficiency rating or higher. Size it for your actual system draw plus 20-30% headroom — a typical mid-range gaming build draws 350-450 watts, so a 650W unit gives comfortable margin. Modular or semi-modular PSUs let you connect only the cables you need, making cable management much cleaner inside the case.
Cooling and Case Selection
The stock cooler included with most AMD and Intel processors handles normal gaming loads adequately, but an aftermarket tower cooler ($25-$50) runs quieter and keeps temperatures lower, especially during extended sessions. Liquid cooling looks impressive but isn’t necessary for a mid-range build. For the case, prioritize good airflow over aesthetics — mesh front panels dramatically outperform tempered glass front panels for cooling. Make sure the case supports your motherboard size (ATX, Micro-ATX) and has enough room for your GPU’s length. If you want to understand why your machine might overheat, our overheating troubleshooting guide explains the thermal dynamics in detail.
Assembly Tips for First-Timers
Install the CPU, cooler, RAM, and M.2 SSD on the motherboard before putting it in the case — it’s much easier to work with on a flat surface. Ground yourself by touching the metal case before handling components to prevent static discharge. The motherboard manual is your best friend during assembly — it shows exactly where every cable connects. The 24-pin motherboard power, 8-pin CPU power, and GPU power cables all click firmly when seated correctly; don’t be afraid to apply gentle pressure. Route cables behind the motherboard tray to keep the interior clean and improve airflow.
Your first build might take three to four hours. Your second will take one. And you’ll never want to buy a pre-built again.