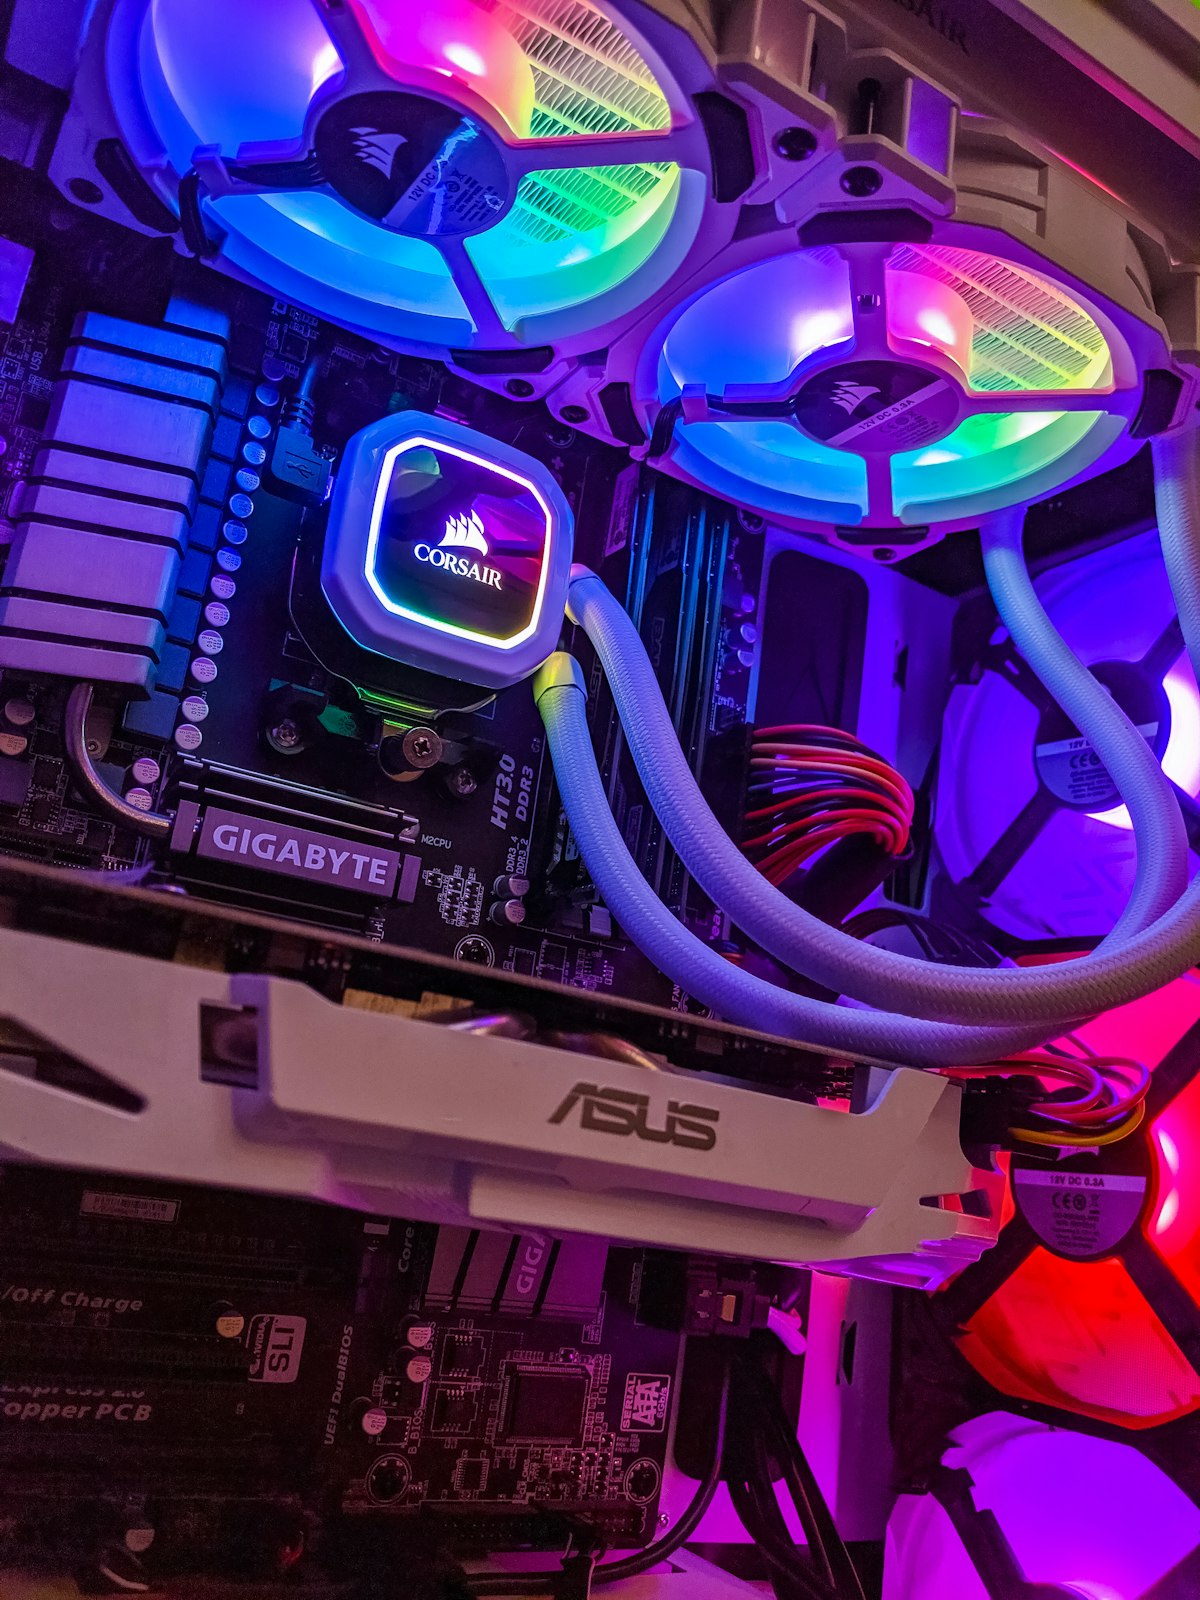
Dust, crumbs, skin oils, and general grime accumulate on and inside your computer faster than you’d expect. Externally, a dirty keyboard and grimy screen are unpleasant to use. Internally, dust buildup on fans and heatsinks is the leading cause of overheating — which throttles performance, shortens component lifespan, and in extreme cases causes hardware failure. A thorough cleaning twice a year keeps your machine running cooler, quieter, and longer. Here’s how to do it properly without damaging anything.
Cleaning Your Screen
Never spray liquid directly on a screen. Dampen a microfiber cloth (the kind used for eyeglasses) with distilled water or a 50/50 mix of distilled water and white vinegar. Wipe in gentle, straight motions — not circles, which can leave streaks. Avoid paper towels, tissues, and household glass cleaners — they contain chemicals and abrasives that damage anti-glare coatings. For stubborn spots, a dedicated screen cleaning spray is worth the $8 investment. LCD, OLED, and laptop screens all respond well to this approach.
Keyboard and Trackpad Deep Clean
Turn the keyboard upside down and shake out loose debris. Use compressed air in short bursts between the keys to dislodge crumbs and dust — hold the can at an angle, not upside down (inverting releases liquid propellant that can damage electronics). For surface cleaning, lightly dampen a microfiber cloth with isopropyl alcohol (70% concentration) and wipe each key and the surrounding surface. Cotton swabs dipped in isopropyl alcohol handle the crevices between keys. For mechanical keyboards, you can remove keycaps for a deeper clean — pull them straight up with a keycap puller tool or carefully with fingers. The trackpad cleans the same way as the keys: slightly damp microfiber cloth, gentle pressure.
Internal Cleaning: Desktop Computers
Power off the computer, unplug it, and press the power button once to discharge residual electricity. Remove the side panel (usually one or two thumbscrews). Use compressed air to blow dust off the CPU heatsink, GPU fans, case fans, power supply vents, and any dust filters. Work from the inside outward — blow dust toward the outside of the case, not deeper in. Hold fan blades stationary while blasting them with air; spinning a fan with compressed air can generate voltage that damages the motherboard. If the dust is thick and caked on, a soft-bristle paintbrush loosens it before the compressed air removes it. Wipe down dust filters with a damp cloth and let them dry completely before reinstalling. Our overheating guide explains why this maintenance directly impacts performance and component longevity.
Internal Cleaning: Laptops
Laptop internals are tighter and more fragile than desktops, so proceed carefully. Most laptops have bottom panels secured by small Phillips or Torx screws — check a teardown guide for your specific model before opening it. Once inside, use compressed air on the fan and heatsink assembly, blowing dust toward the exhaust vent. Avoid touching the motherboard or ribbon cables. If you’re not comfortable opening the laptop, blow compressed air through the exhaust and intake vents from outside — it won’t be as thorough, but it removes a significant amount of accumulated dust. For older laptops running hot, consider having a technician replace the thermal paste during the cleaning — the combined effect of fresh paste and cleared dust can drop temperatures by 15 to 25 degrees.
Software Cleanup While You’re At It
A physical cleaning session is the perfect time to clean up software too. Uninstall applications you no longer use, clear browser caches, run Disk Cleanup (Windows) or use the Storage Management tool (Mac), and review startup programs. Our Windows 11 optimization guide covers the software side in detail. Pair a physical and software cleanup twice a year — once in spring, once in fall — and your machine will feel noticeably better after each session.
Supplies You Need
The full cleaning kit costs under $20 and lasts for multiple sessions: a can of compressed air ($6-$8), a microfiber cloth ($3 for a pack), isopropyl alcohol 70% ($4), cotton swabs ($2), and optionally a small soft-bristle brush ($3). That modest investment protects hardware worth hundreds or thousands of dollars. It’s one of the best maintenance returns in computing — fifteen minutes of work that extends your machine’s useful life by years.